
Are you planning a solo or family camping trip? If you are, then you have likely made a list of all the gear and the steps you will need to take before departing on your adventure: tents, sleeping bags, fire-starting materials etc.
One thing not to forget, no matter the weather forecast, is waterproofing your tent. Nothing is worse than waking up in the middle of the night to find a surprise thunderstorm has left you and your family sleeping in a puddle.
Waterproofing is easy and will ensure that you enjoy a dry night of sleeping, which can really make the difference between a great and terrible camping trip. Avoid the latter description of your trip and be on the safe side. Prepare for rain by following the below instructions.
Table of Contents
You Will Need To The Following Items Before You Get Started:
A Tent
Obviously.
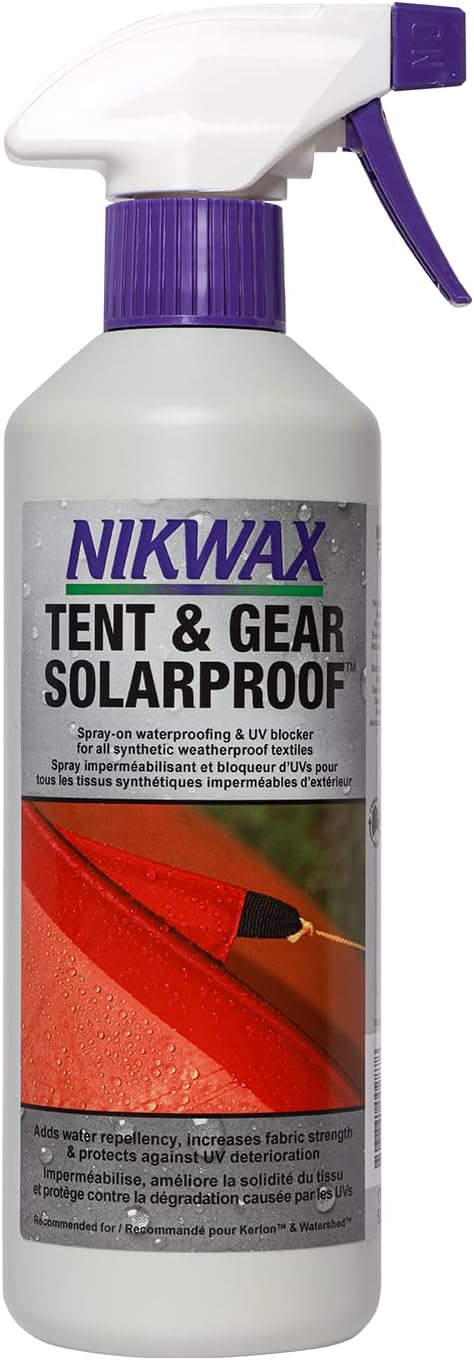
Waterproofing Spray

You can purchase this at an outdoor or camping supply store.
Seam Sealer
Again, this can be purchased from an outdoor or camping supply store.
Outdoor Space

Most waterproofing sprays and seam sealers are sold in aerosol cans. Plan to complete the project outside where you can leave the tent to dry to avoid toxic fumes. If you cannot do this outside, pick somewhere will many windows and open them up.
You can’t camp if you are braindead from toxic fumes.
Step-By-Step Instructions
1. Pick The Right Day And Weather To Complete The Project

You will want to choose a day that is dry and has the least amount of wind possible. Since you will be spraying on the sealant, you want to avoid humidity to give it the maximum chance at drying properly.
Also, since you are likely to be spraying the waterproofing from an aerosol can, you want to avoid wind from blowing the spray away or dust into the sealant.
2. Clean The Tent Very Well
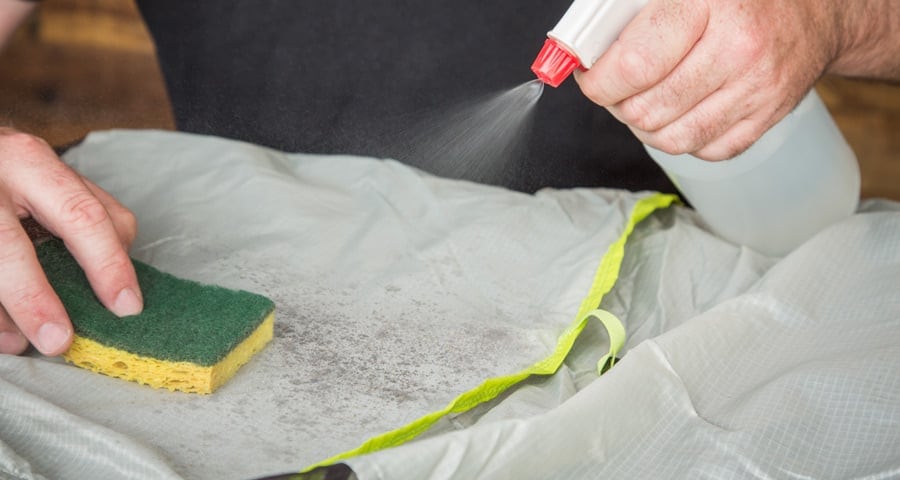
Take a damp cloth and wipe down the tent to remove any mud or dirt from the fabric. Any soiled fabric is unlikely to absorb the sealant, meaning the chemicals will not effectively bond to the fabric to repel water.
If there is time, after cleaning with a damp cloth, run over the tent with a vacuum or a brush to remove any spare particles. If the fabric is wet, let it dry before moving on to the next step. Like the dirt, any water that interacts with the chemicals can make the waterproofing ineffective.
3. Wait Until The Fabric Is Dry
Seriously, we were not kidding about the waiting till the fabric dries part. It is essential that the tent is completely dry before applying the sealant. Again, any spray or sealant will not work if the fabric is wet. Take this time to prepare other camping materials.
Also, remember not to leave the tent somewhere drying where dirt or rain could get on it.
4. Transfer The Tent To A Well-Ventilated Area
If you are not already doing this outside, move outside, if you can. If you cannot work outside, move to a room where you can open then windows and door to allow for plenty of ventilation.
It is also a good idea to wear safety googles and gloves if you have them, especially if you have sensitive skin or allergies. The sealers will likely have a strong odor so prepare carefully to avoid any harmful reactions.
5. Buy A Waterproofing Spray And Sealant
Hopefully you have already made these purchases, as per the “What You Will Need for this Tutorial” section. But if you haven’t already, now is the time. These can be bought from any outdoor or camping supply store.
Also, if you are likely to be camping in the sun often, consider purchasing a spray with UV protection to keep the fabric from fading over time. Waterproofing sprays will work best on canvas and nylons.
6. Apply The Waterproofing Spray

Hold the waterproofing spray approximately 15 to 20 centimeters (6 to 8 inches) away from the surface of the fabric. Apply a light, even coat to the entire outer surface of the tent.
Remember to overlap each stroke to make sure there are no holes or gaps in the waterproofing. You will want to apply the spray to the entire outer lining of the tent.
7. Wait Until The First Coat Dries And Apply A Second Coat
Make sure the tent can dry completely in a dry, windless area. This can take anywhere from 4 to 6 hours. Read the instructions on the can of waterproofing you have purchased for the specific drying time.
Once you have waited the appropriate amount of time, apply a second coat exactly as before.
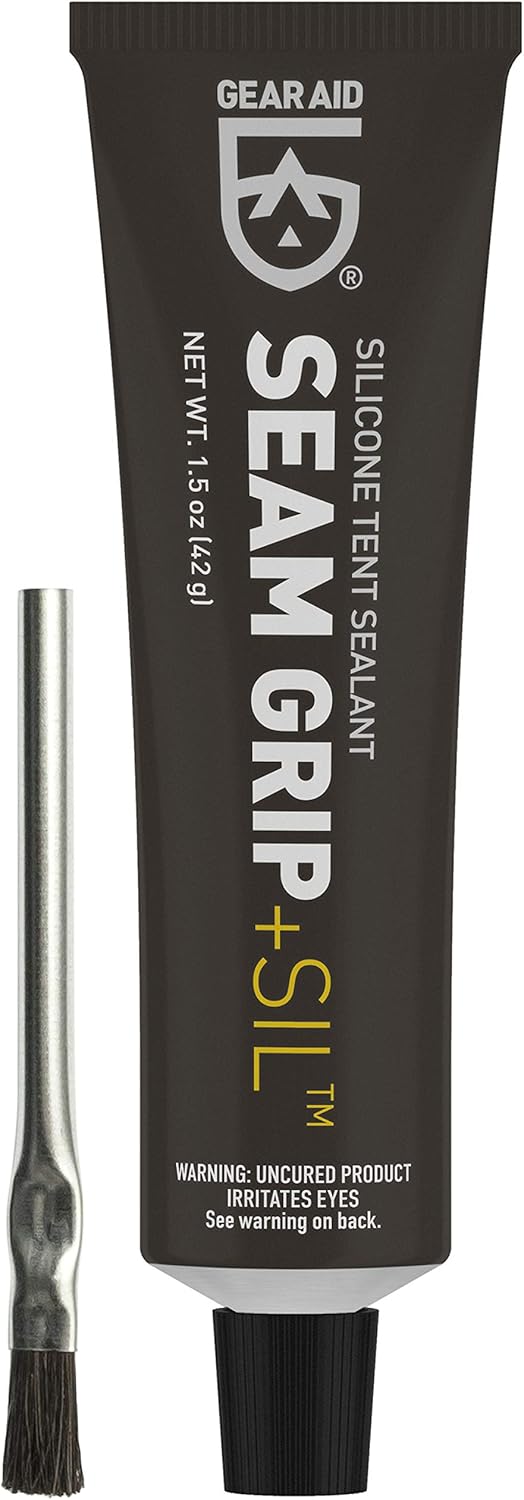
8. Apply The Seam Sealant On Any Seams Or Zippers
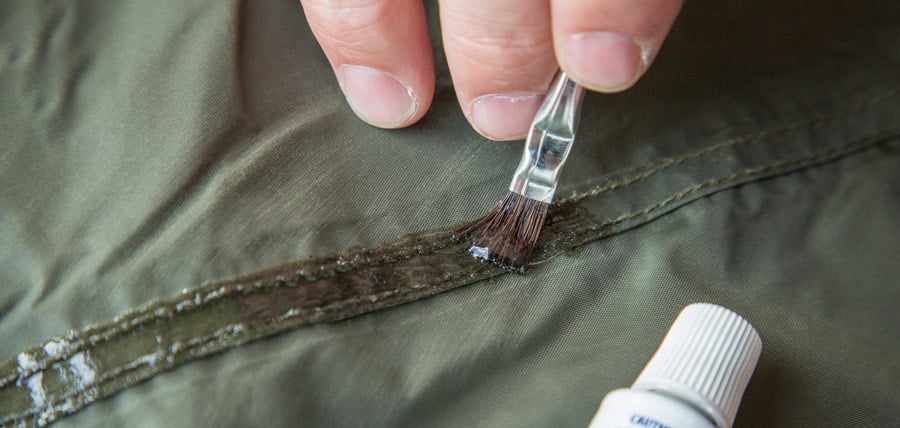
Seam sealant usually comes with an applicator on top of a small bottle. Use the applicator per the directions to simply apply the material over any seams. Pay close attention to seams near zippers, as this can be the most likely place for water to leak through the tent lining.
By adding sealant to seams you are double-protecting your tent and can rest assured that not a single drop of water will penetrate the force field of waterproofness you have just created. Wait for the sealant to dry before packing the tent up.
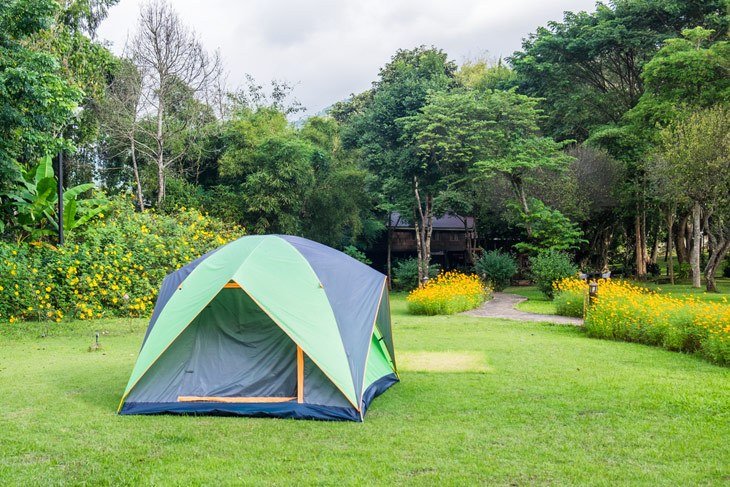
9. Get Your Camp On

Once the waterproofing spray and sealant are completely dry, you can pack up and hit the road. It’s time for you to enjoy the great outdoors, rain or shine. And you can do so knowing that you, your co-campers, and all of your supplies will be safely nestled away from the rain.
Useful Tip
An additional helpful tent would be to put a tarp over and under your tent, if you have them. Most tents come with a rain guard, so it may not be necessary to put the tarp over the tent.
People can often forget that with heavy rain, standing water will be as much of a problem as falling rain. By putting a tarp under your tent you are adding an additional protective layer that will prevent water coming from the ground and the surrounding area.
Final Thoughts
There you have it, folks. Waterproofing is easy, relatively quick, and not costly. As such, there is no reason not to do it before taking a camping trip. As you can see, the longest part is going to be waiting for the spray and sealant to dry. If you plan ahead, you can use that time to do other prep for your camping trip.
It is not recommended to put off waterproofing until you arrive at your campsite. There are a few reasons for this.
- First, you need time to let the chemicals dry. You will likely be so excited about camping that you will not want to wait.
- Second, you do not want to apply the chemicals in a windy area where there is a lot of dirt. The dirt will get into the spray and sealant, rendering it ineffective.
Waterproof and seal your tent at least 48 hours ahead of your trip, just to be on the safe side.
If you can think of something I missed or have any other comments you would like to share I look forward to seeing them below. Also, if you find this article informative and/or interesting please click the link and share it with others.